
While searching through my house I can find tons of potential products to practice photographing. Most however will be dented, scratched, discolored, stained and in general abused. As such it makes for a bad photograph or at the very least a LOT of work in Photoshop.
So, finding new unused items is beneficial. I decided on a fairly new Browning folding knife I had gotten my fiancé for Christmas for take on future camping trips. (No it was not the only thing I got her... fiancé! ;-)
I had been watching youtube videos on product photography by Alex Koloskov from photigy.com. He often stresses creating a gradient on shinny metal surfaces. So that was my main challenge with the knife.
The initial setup was pretty simple. A grid on a light for the background, a strip-box forward and on the left side to light the the front of the knife and another light behind and to the right to rim light that side. The secrete , and what I learned for photigy, was adding a diffusion panel between the left light and the knife. With this I was able to angle it in such a way to create a V. This V could be adjusted wider or narrower and increase or decrease the amount of light drop off that hit the knife.
(The two photos below show the gradient differences. All I did was move the diffuser wider then closer to the light.)
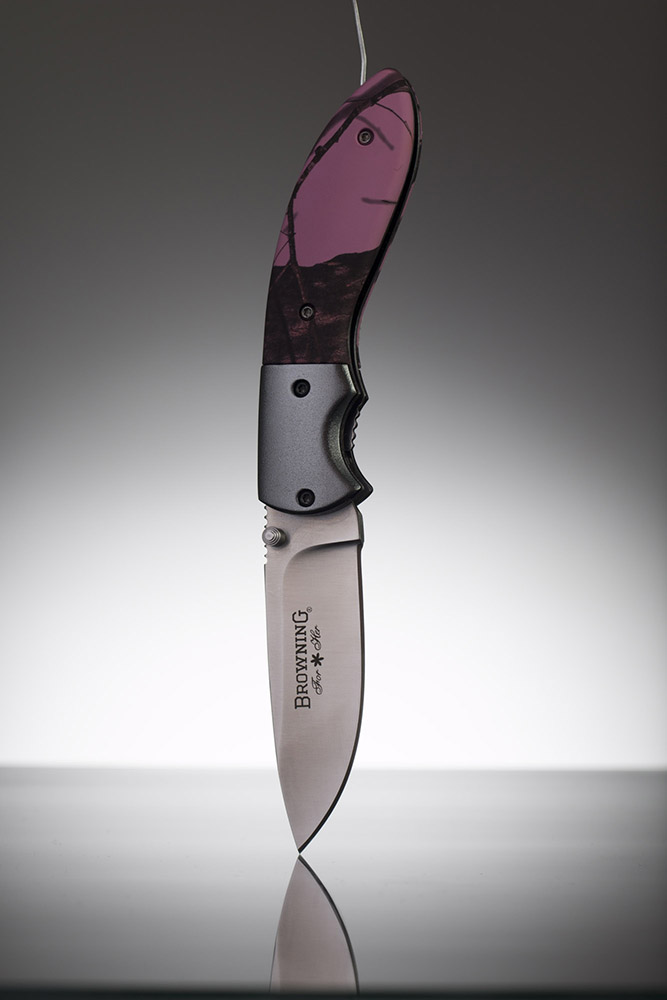
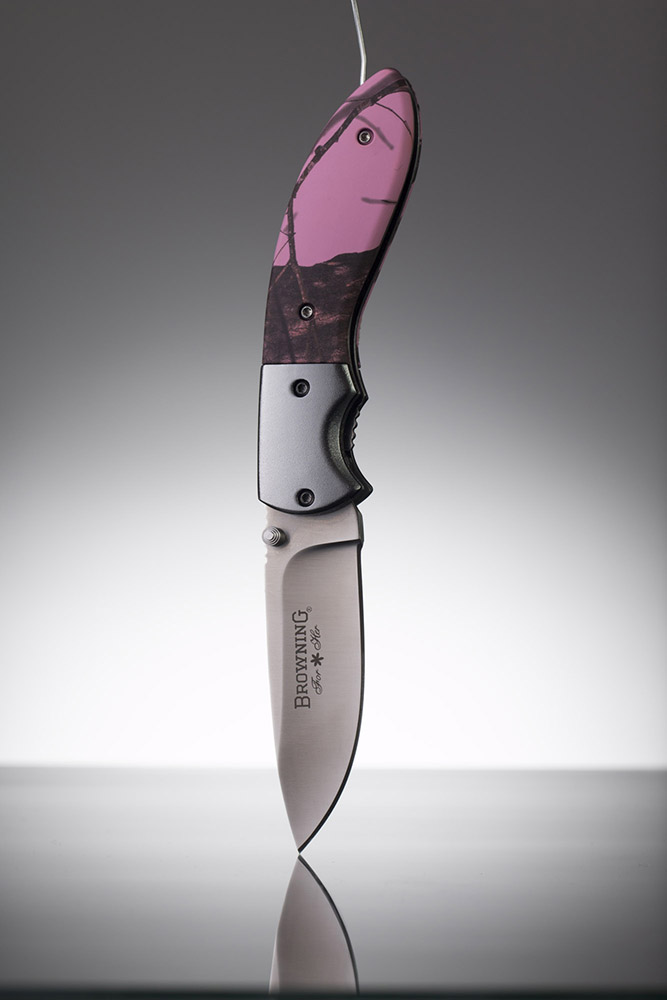
The end result is deceptively simple but looks great!

Final Image
Fielder