

I saw one of these flexible wire clamps online a few years ago and built my own shortly after. Since then I've used these a lot during my product photography from holding small light modifiers to suspending the product itself.

The equipment list:
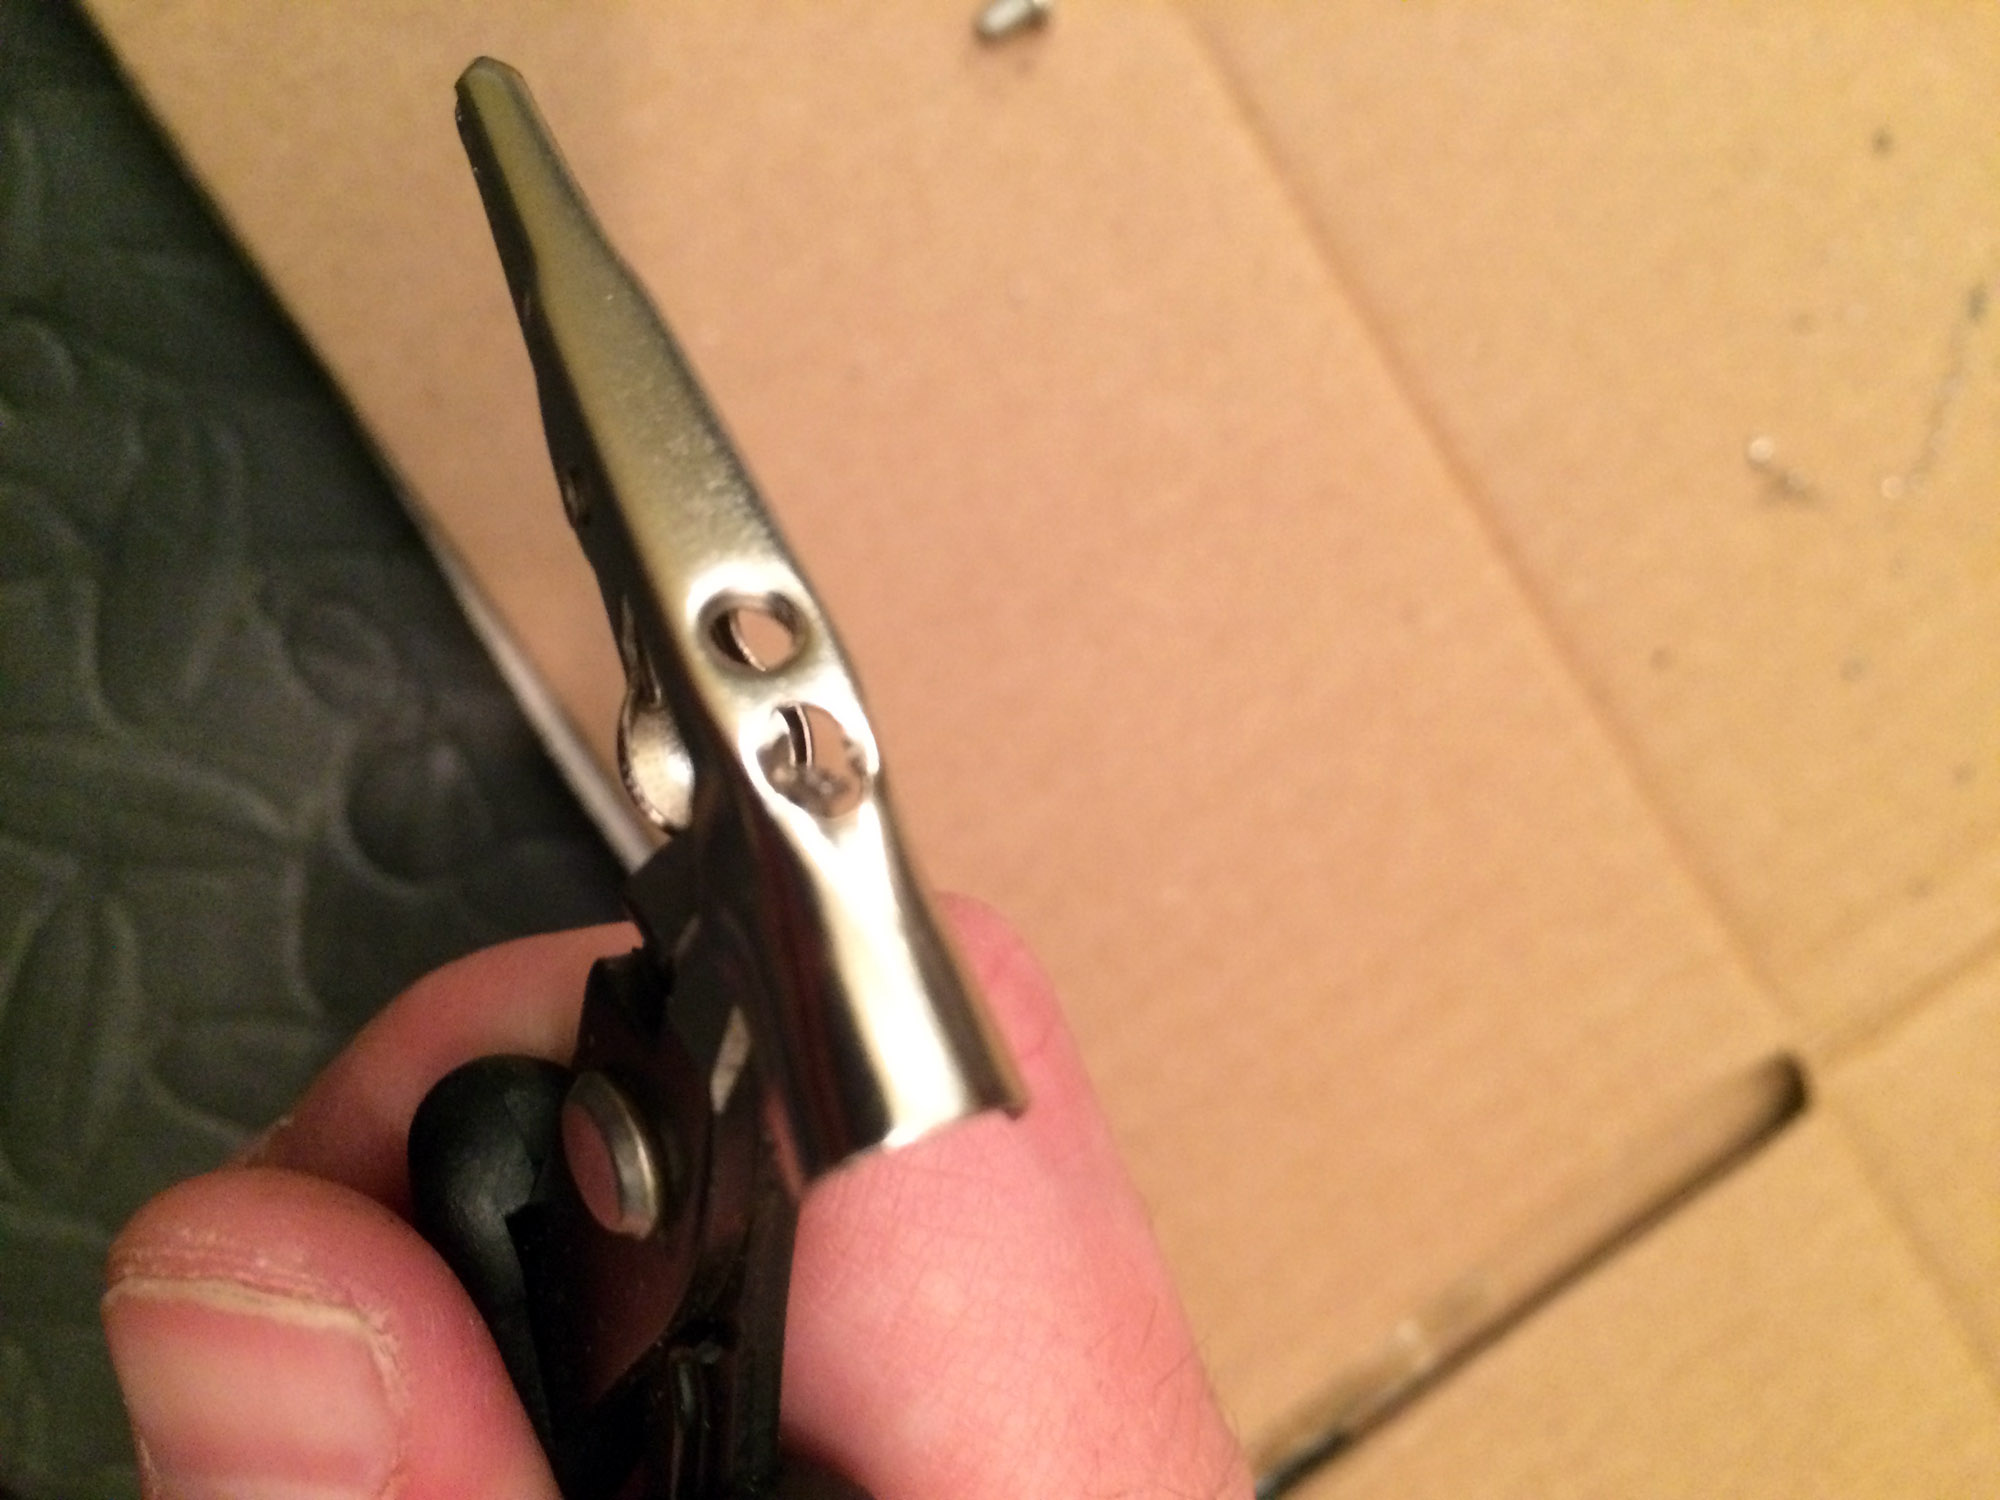
1 A-clamp (I always buy ones that have a neutral color handle to avoid color cast.)
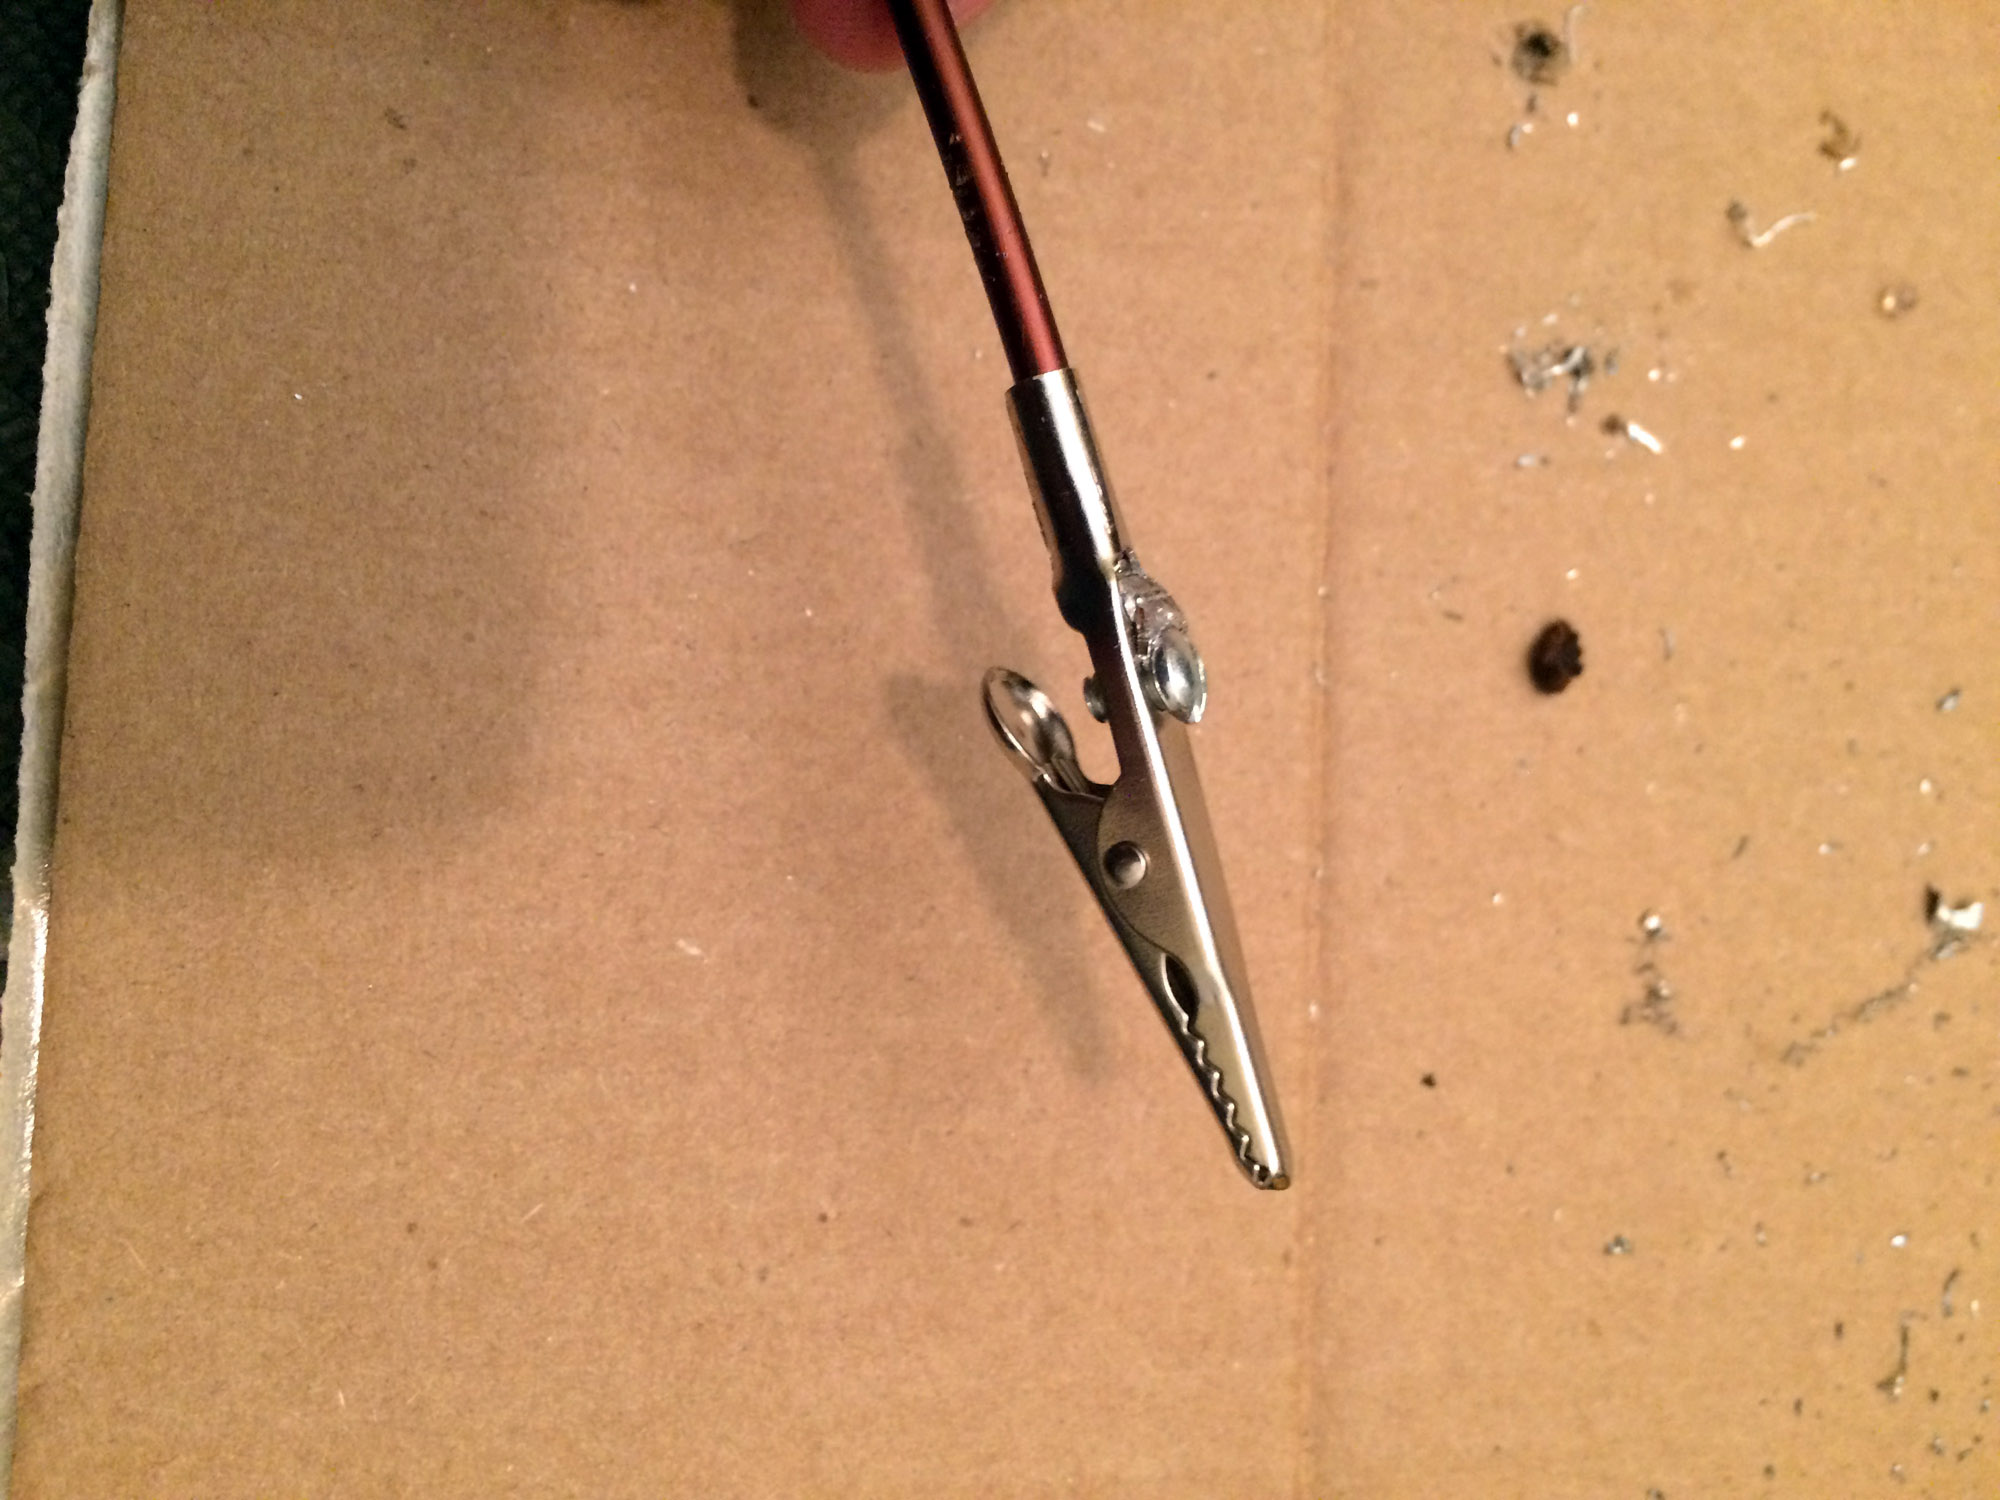
1 Alligator clip
1 Terminal Lug (Right next to the Alligator clips in Home Depot.)
1 Screw with nut and locking washer (a 3/8 inch screw worked for the thickness of my lug and clamp)
Wire (I used a foot in length of 4mm aluminum wire that is coated with copper. Copper 4mm wire will be VERY hard to bend. You will most likely want to get a thinner wire but use your best judgment.)
Pliers
A Drill
First take off one of the rubber handle on the A-clamp and drill a hole wide enough for the 3/8 inch screw to fit through. I started with a small drill bit and worked my way to the size I needed.

Attach the terminal lug using the screw, locking washer and nut.

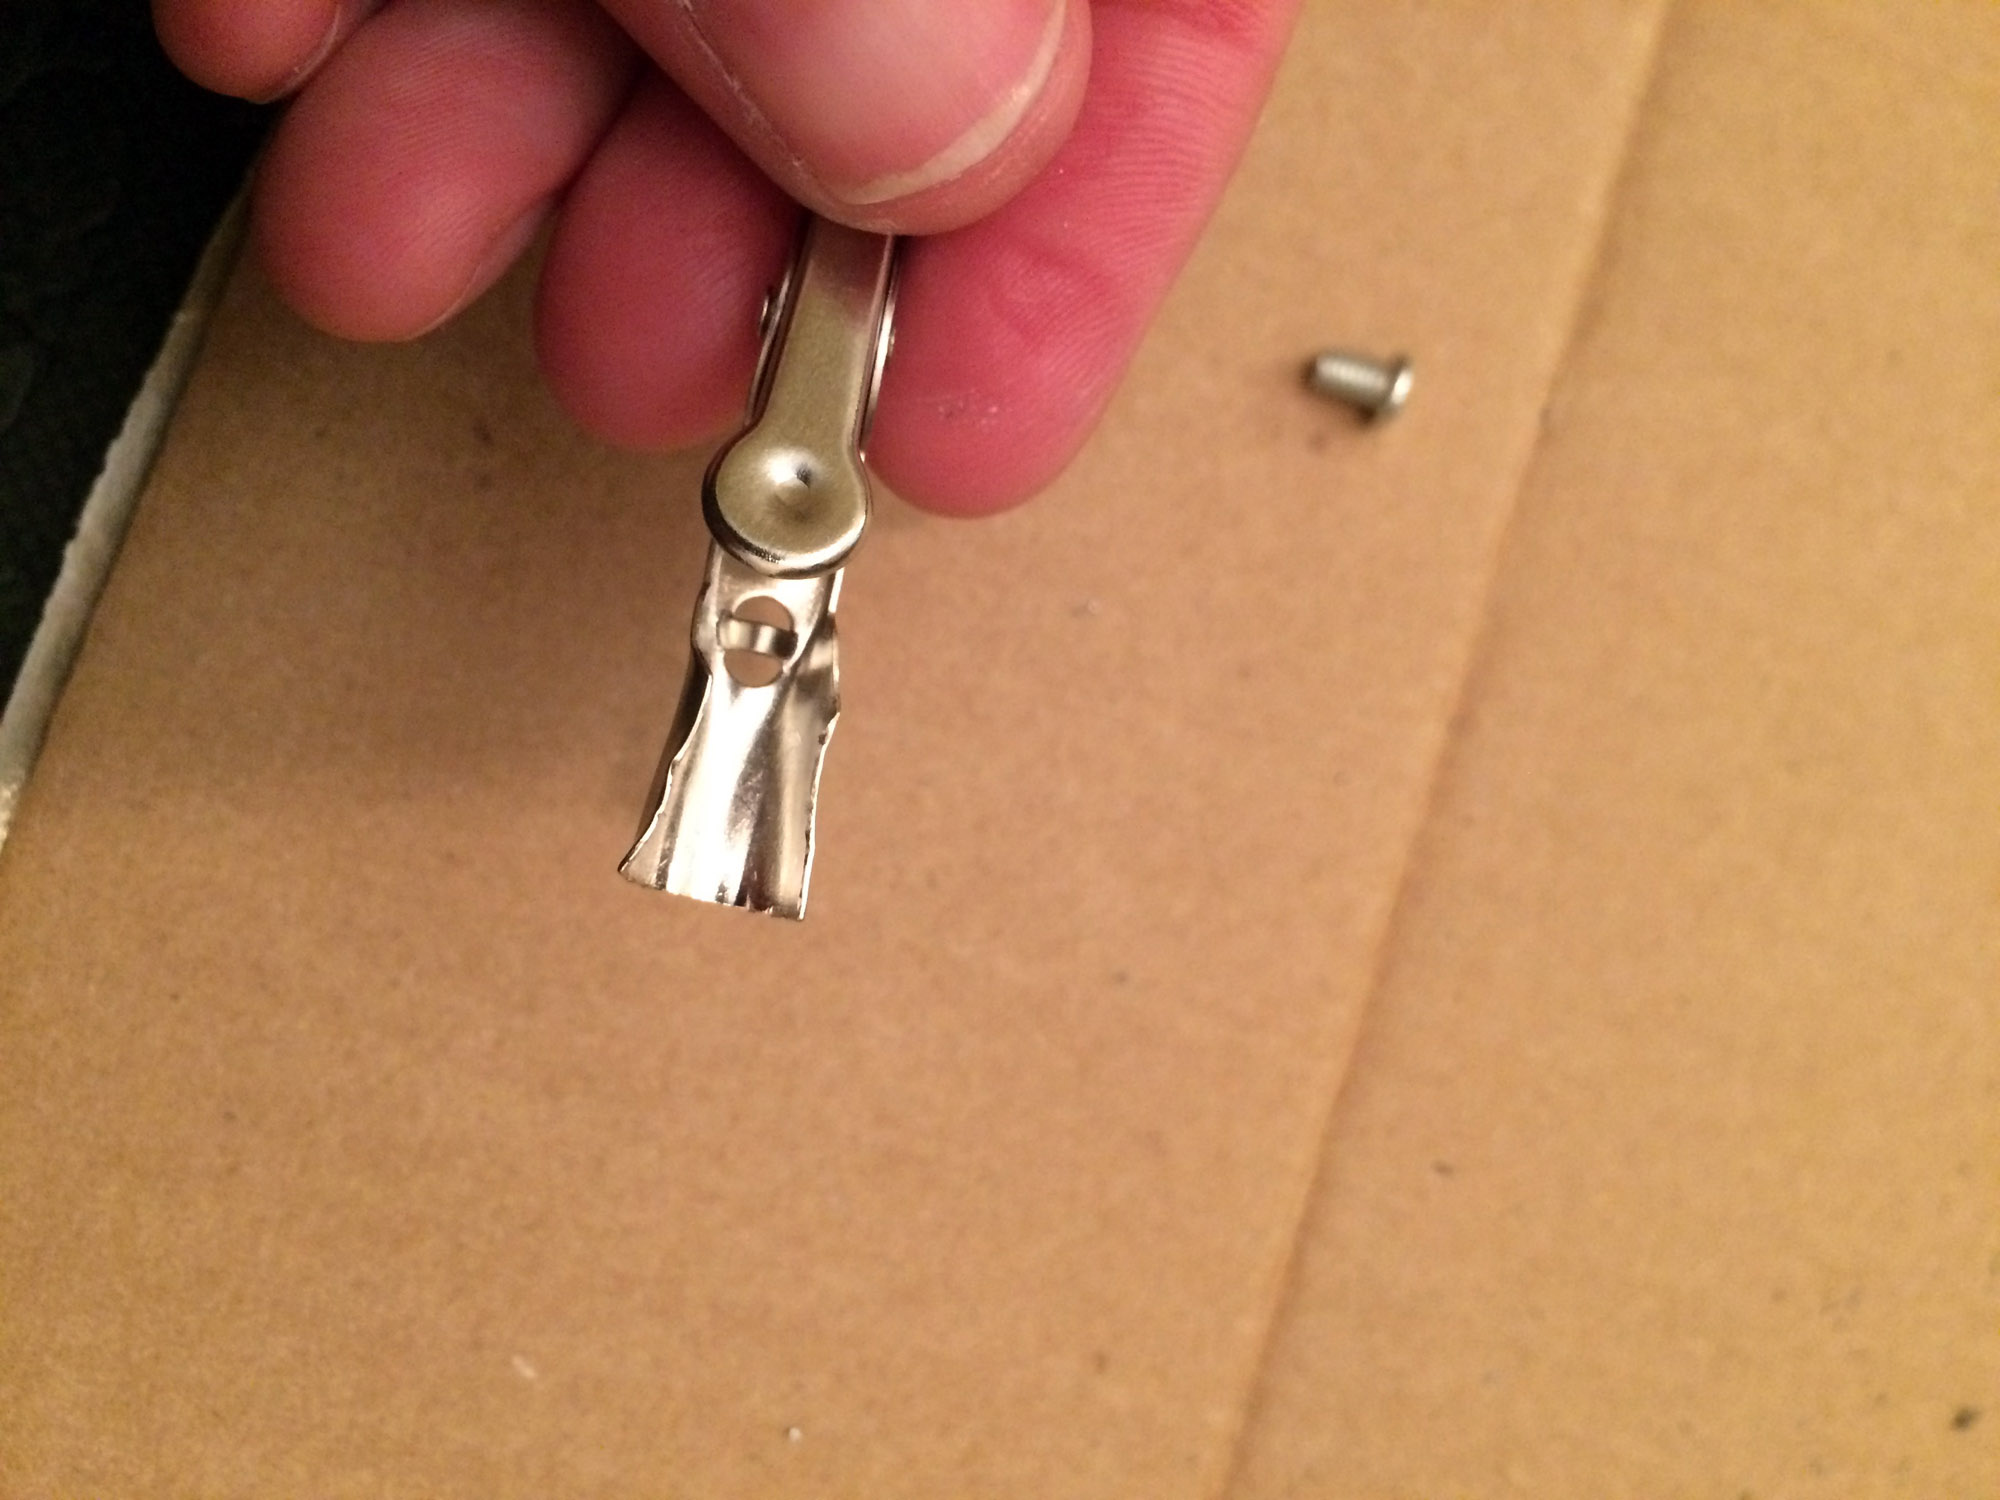
Now time to modify the alligator clip. You will need to remove the strip of metal in the hole below the screw so you can thread the wire though. I used wire clippers to cut the metal strip off then the drill to clear the hole so the wire slid through cleanly. Next use some pliers to bend open the channel on the back of the clip that the wire will run through.
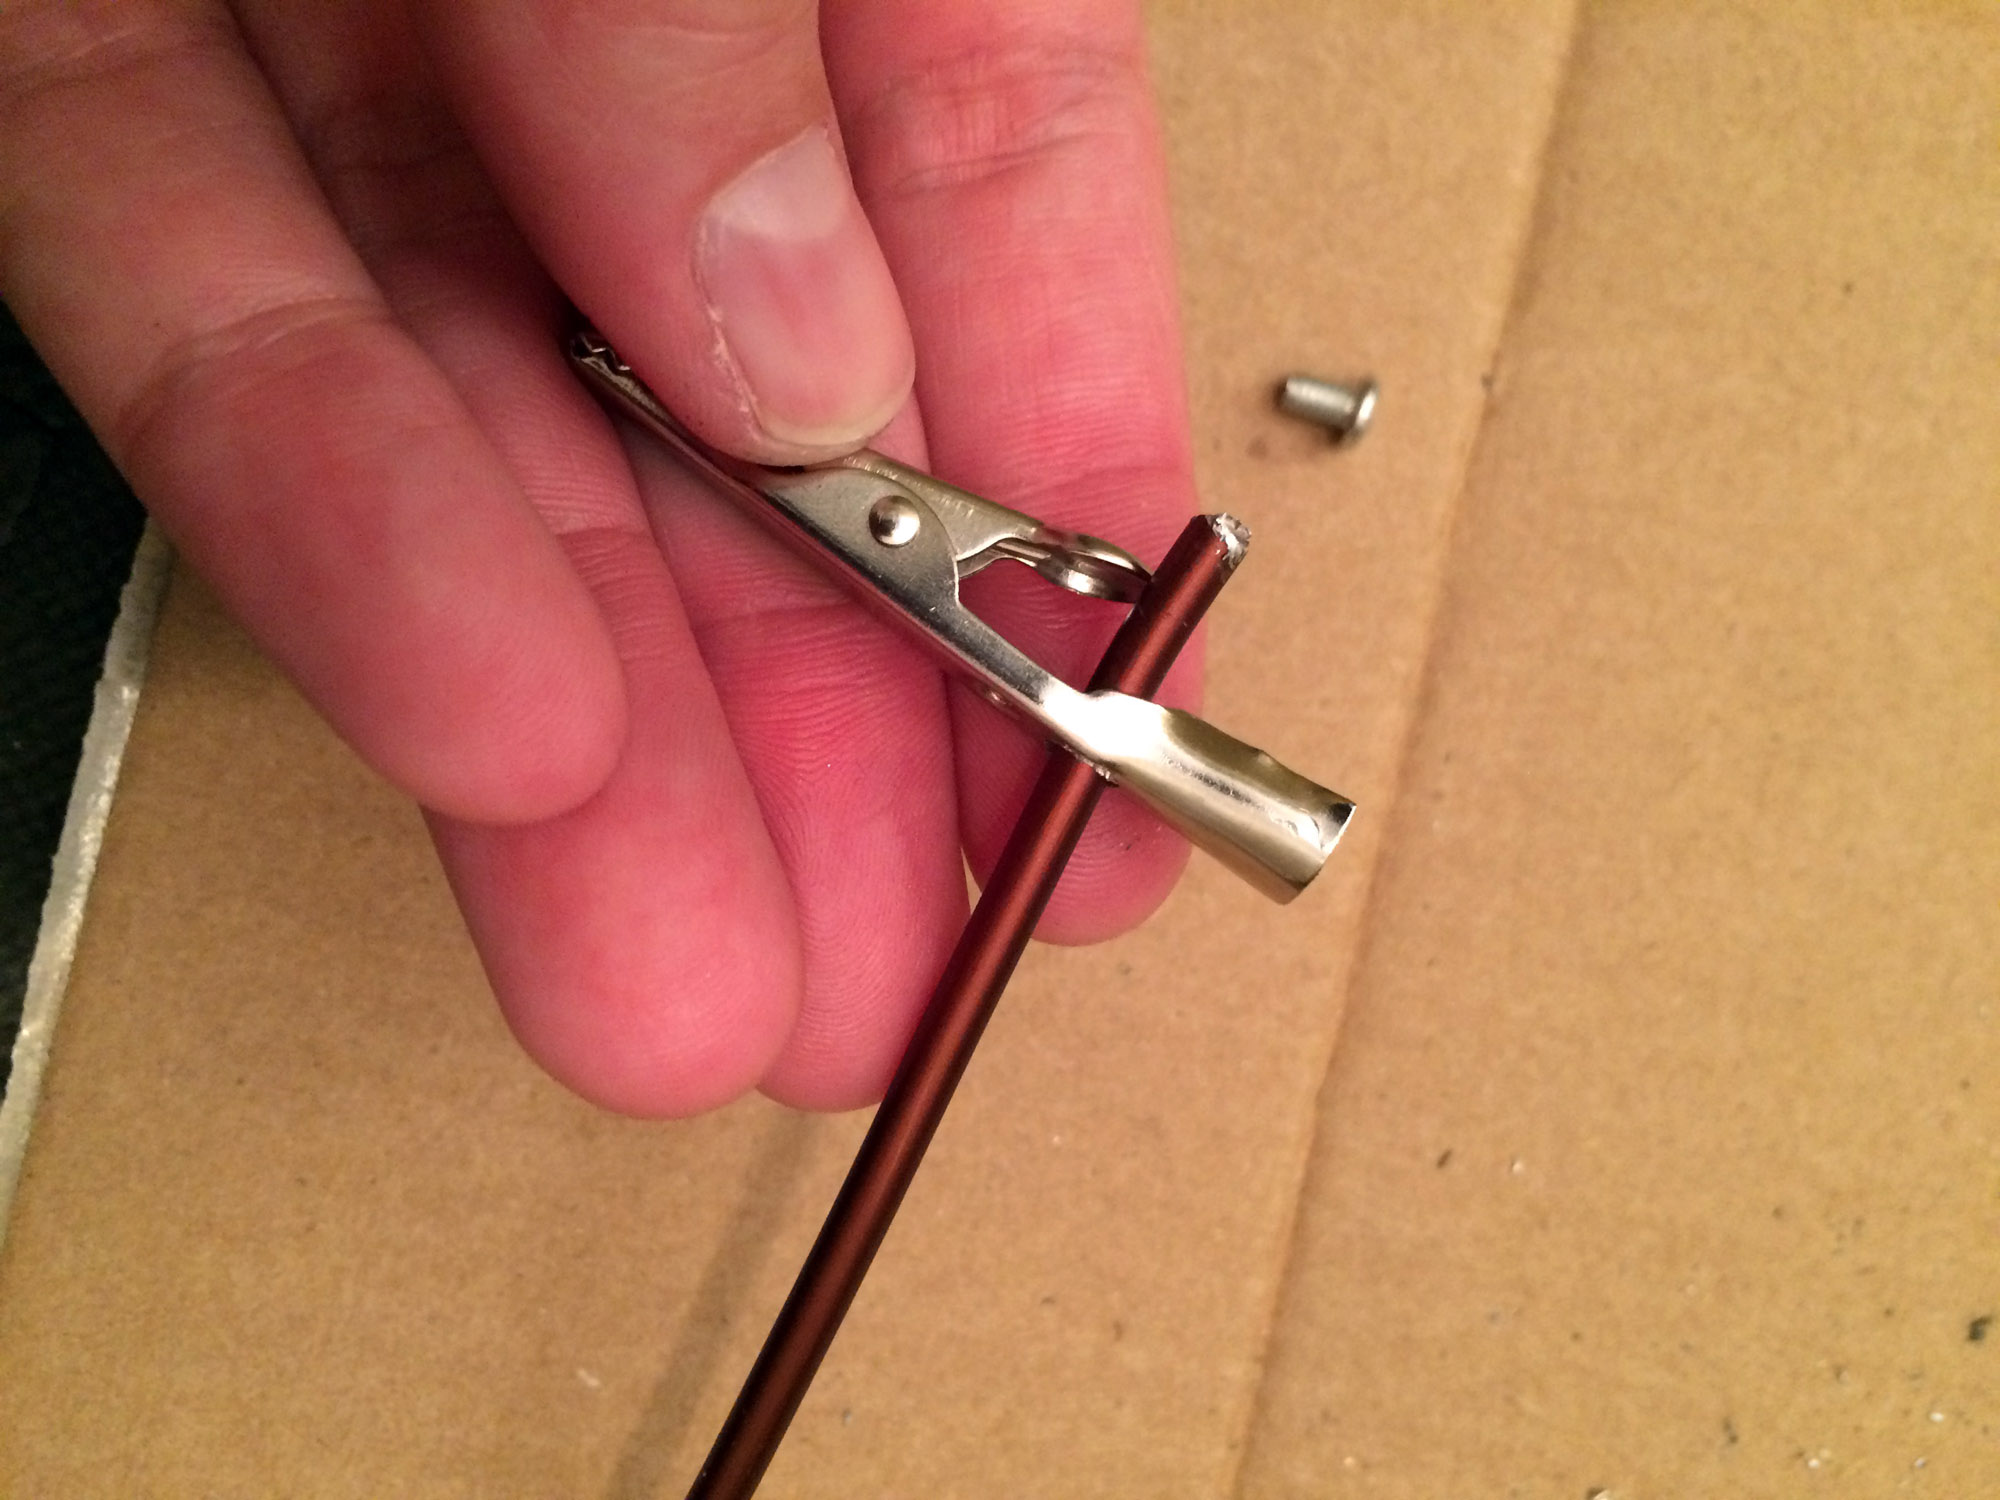
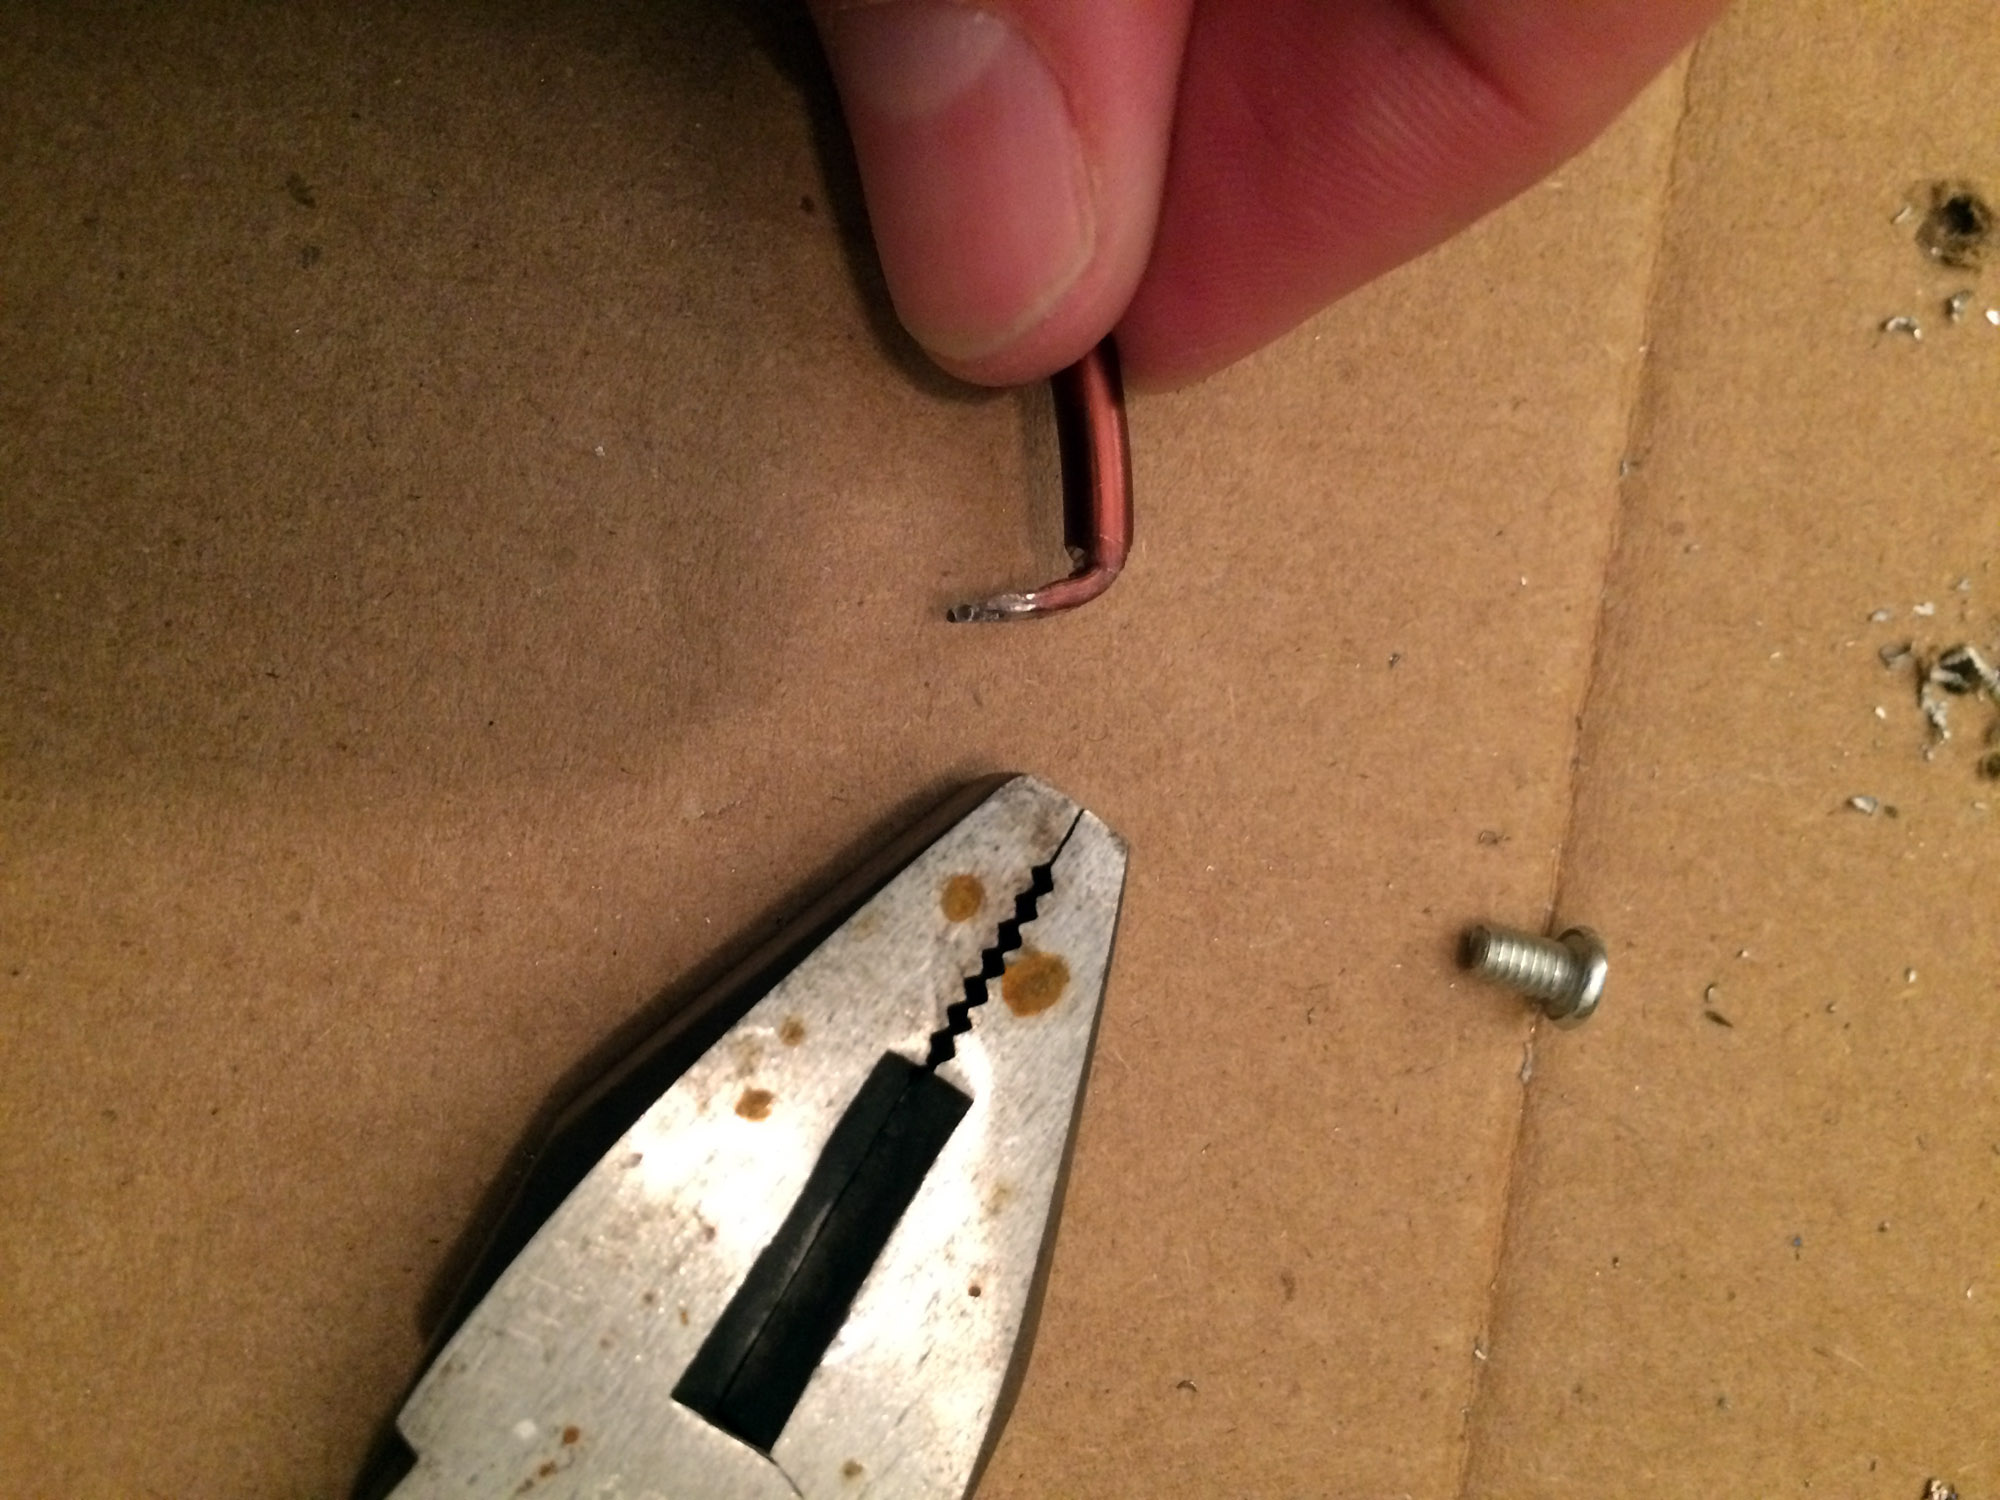
I flatten the end of the wire that I attaches to the clip and then drill a hole that is big enough for the alligator clips attachment screw. In the past I have used a hammer to flatten out the wire but this time I used pliers to crush the tip. (The hammering was easier.) Also, I've made several of these and only managed to drill a perfect hole once. What I usually end up with is a U shape on the end but that will hold fine.

After I get my flattened U or hole on one end I bend a 90 degree angle in the tip of the wire. Next I thread the other side all the way through the hole. I attach the screw and then bend the wire again through the open channel creating a Z shape to the wire. Lastly I close the channel tight around the wire.
Finally, I attach the other side to the terminal lug on the A-clamp.

I while back I found a large flexible makeup mirror at a thrift store and used it to make a heftier set of flexible clamps. The only difference in assembly was larger terminal lugs.
